Tired of your beautifully baked cakes stubbornly clinging to the pan, ruining hours of effort in mere seconds? Do you find yourself constantly reaching for expensive, aerosol baking sprays filled with questionable propellants, only to still face the dreaded sticking aftermath? It's a common baker's dilemma, but what if there was a simple, homemade solution that guarantees perfect release every time? Enter homemade cake goop – a magical, three-ingredient concoction that will revolutionize your baking and have you saying goodbye to store-bought baking spray for good.
This remarkable homemade cake goop recipe pan release is not a new secret; professional bakers and savvy home cooks have been using variations of it for years. It’s incredibly easy to make, uses ingredients you likely already have on hand, and performs far superior to any commercial spray or traditional greasing and flouring method. Prepare to unlock a new level of baking confidence and consistently achieve flawless, beautifully released cakes.
What is Cake Goop and Why It's Your Baking Game-Changer
At its heart, cake goop is a meticulously balanced mixture of flour, neutral oil, and shortening. This blend creates an unparalleled non-stick barrier that adheres perfectly to the contours of your baking pans, providing a robust shield against sticking. Unlike a simple coat of butter or oil, which can absorb into the batter or leave gaps, cake goop creates a thicker, more durable layer that stays put, ensuring your baked goods slide out effortlessly.
Why should you make the switch?
- Unrivaled Release: This is its primary superpower. From intricate Bundt pans to delicate layer cakes and even everyday muffins, cake goop guarantees a clean release without tearing or leaving behind precious crumbs.
- Cost-Effective: Say goodbye to constantly repurchasing baking sprays. The ingredients for homemade cake goop are inexpensive and yield a large batch that lasts for months.
- Ingredient Control: You know exactly what’s going into your pan release – no mysterious chemicals, propellants, or artificial flavors. This is especially appealing for health-conscious bakers.
- Versatility: While named "cake goop," its utility extends to muffins, cupcakes, bread loaves, and virtually any baked good requiring a non-stick pan.
- Time-Saving: A quick application of goop is faster and less messy than buttering and flouring, and far more effective than just a spray. No more struggling with parchment paper in odd-shaped pans!
The Magic 3-Ingredient Homemade Cake Goop Recipe
Ready to experience the magic? This foundational homemade cake goop recipe pan release is incredibly simple to whip up. You’ll need just a few basic kitchen tools and three common ingredients.
Ingredients:
- 1 cup all-purpose flour (or your preferred flour type)
- 1 cup neutral-flavored oil (e.g., vegetable oil, canola oil, grapeseed oil)
- 1 cup shortening (e.g., Crisco, vegetable shortening)
Equipment:
- Medium mixing bowl
- Hand mixer or whisk
- Airtight container for storage
Instructions:
- Combine Ingredients: Add the flour, oil, and shortening into your medium mixing bowl.
- Mix Until Smooth: Using a hand mixer on low speed, blend the ingredients thoroughly until the mixture is completely smooth and uniform. If you don't have a hand mixer, a sturdy whisk and some elbow grease will also do the trick, though it might take a little longer to eliminate all lumps. The goal is a consistent, paste-like texture, similar to a thick batter.
- Store: Transfer your freshly made cake goop into an airtight container. It’s now ready to use!
That’s it! In a matter of minutes, you’ve created a baking essential that will serve you well for many baking adventures to come. For more insights on why this goop works so effectively, explore Unlock Perfect Cakes: Why Homemade Cake Goop is Your New Pan Release.
Beyond the Basics: Customizing Your Cake Goop
While the basic homemade cake goop recipe is phenomenal, its versatility allows for exciting variations tailored to specific baking needs or preferences. These minor tweaks ensure your pan release is always perfectly suited for the task at hand.
Buttery-Flavored Goop
For those who love the rich aroma and subtle taste of butter in their baked goods, a buttery variation is a delightful option. Simply substitute an equal amount of softened butter for the shortening in the original recipe. Keep in mind that butter has a lower melting point and a different fat composition, so this version is best stored in the refrigerator to maintain its consistency and freshness. It imparts a lovely, delicate butter note to your cakes and muffins.
Gluten-Free Cake Goop
Baking for someone with gluten sensitivities or simply preferring gluten-free ingredients? Adapting your cake goop is a breeze. Swap out the all-purpose flour for your favorite gluten-free all-purpose flour blend. Ensure that the other ingredients (oil and shortening) are also certified gluten-free, if that’s a critical concern. This variation ensures your pan release is entirely safe and suitable for all your gluten-free baking projects, providing the same reliable release without compromise.
Chocolate Cake Goop for Darker Bakes
For chocolate lovers and those frequently baking dark-colored cakes, a chocolate variation is a game-changer. The idea here is to prevent any light flour residue from showing on the dark crust of your chocolate masterpiece. To create this, replace a small portion of the flour (e.g., 1/4 cup) with unsweetened cocoa powder. The rich color of the cocoa powder will blend seamlessly with your chocolate batter, enhancing the appearance of your finished cake, especially if it won't be frosted. This is particularly recommended for Bundt cakes or sheet cakes where the exterior is highly visible. For more variations and detailed instructions, check out DIY Cake Goop Recipe: Gluten-Free & Chocolate Variations for Bakers.
Alternative Fats: Lard or Tallow
If you're a baker who prefers to use rendered fats like lard or tallow in your cooking and baking, you can certainly experiment with substituting these for the shortening. They offer similar non-stick properties and can impart unique flavors. Just ensure they are solid at room temperature for the best consistency in your goop.
Storage and Shelf Life: Keeping Your Goop Fresh
One of the many benefits of homemade cake goop is its excellent shelf life, making it a convenient staple to have on hand. Proper storage is key to maintaining its efficacy and preventing spoilage.
Pantry Storage:
The standard cake goop (made with shortening) is remarkably stable. Stored in an airtight container in a cool, dark pantry, it can last for up to 3 months. This is because all ingredients are shelf-stable at room temperature.
Refrigerator Storage:
To extend its life even further, or if you live in a warmer climate, you can store your cake goop in the refrigerator. In the fridge, it will remain fresh and effective for up to 6 months. If you opt for the buttery variation, refrigeration is essential due to the butter content, which can go rancid at room temperature much faster than shortening.
Freezing for Long-Term Storage:
If you make a very large batch or don't bake frequently, you might wonder, "Can you freeze homemade cake goop?" The answer is a resounding yes! Freezing is an excellent option for long-term storage, extending its shelf life significantly. Simply transfer your goop to a freezer-safe, airtight container. When you're ready to use it, just let it thaw in the refrigerator or at room temperature until it reaches a spreadable consistency.
Always give your stored goop a good stir before each use, especially if it's been sitting for a while, as some separation can occur. This ensures an even consistency for optimal performance.
Tips for Using Homemade Cake Goop for Flawless Results
Making the goop is only half the battle; knowing how to apply it correctly is crucial for achieving that coveted perfect release. Here are some pro tips:
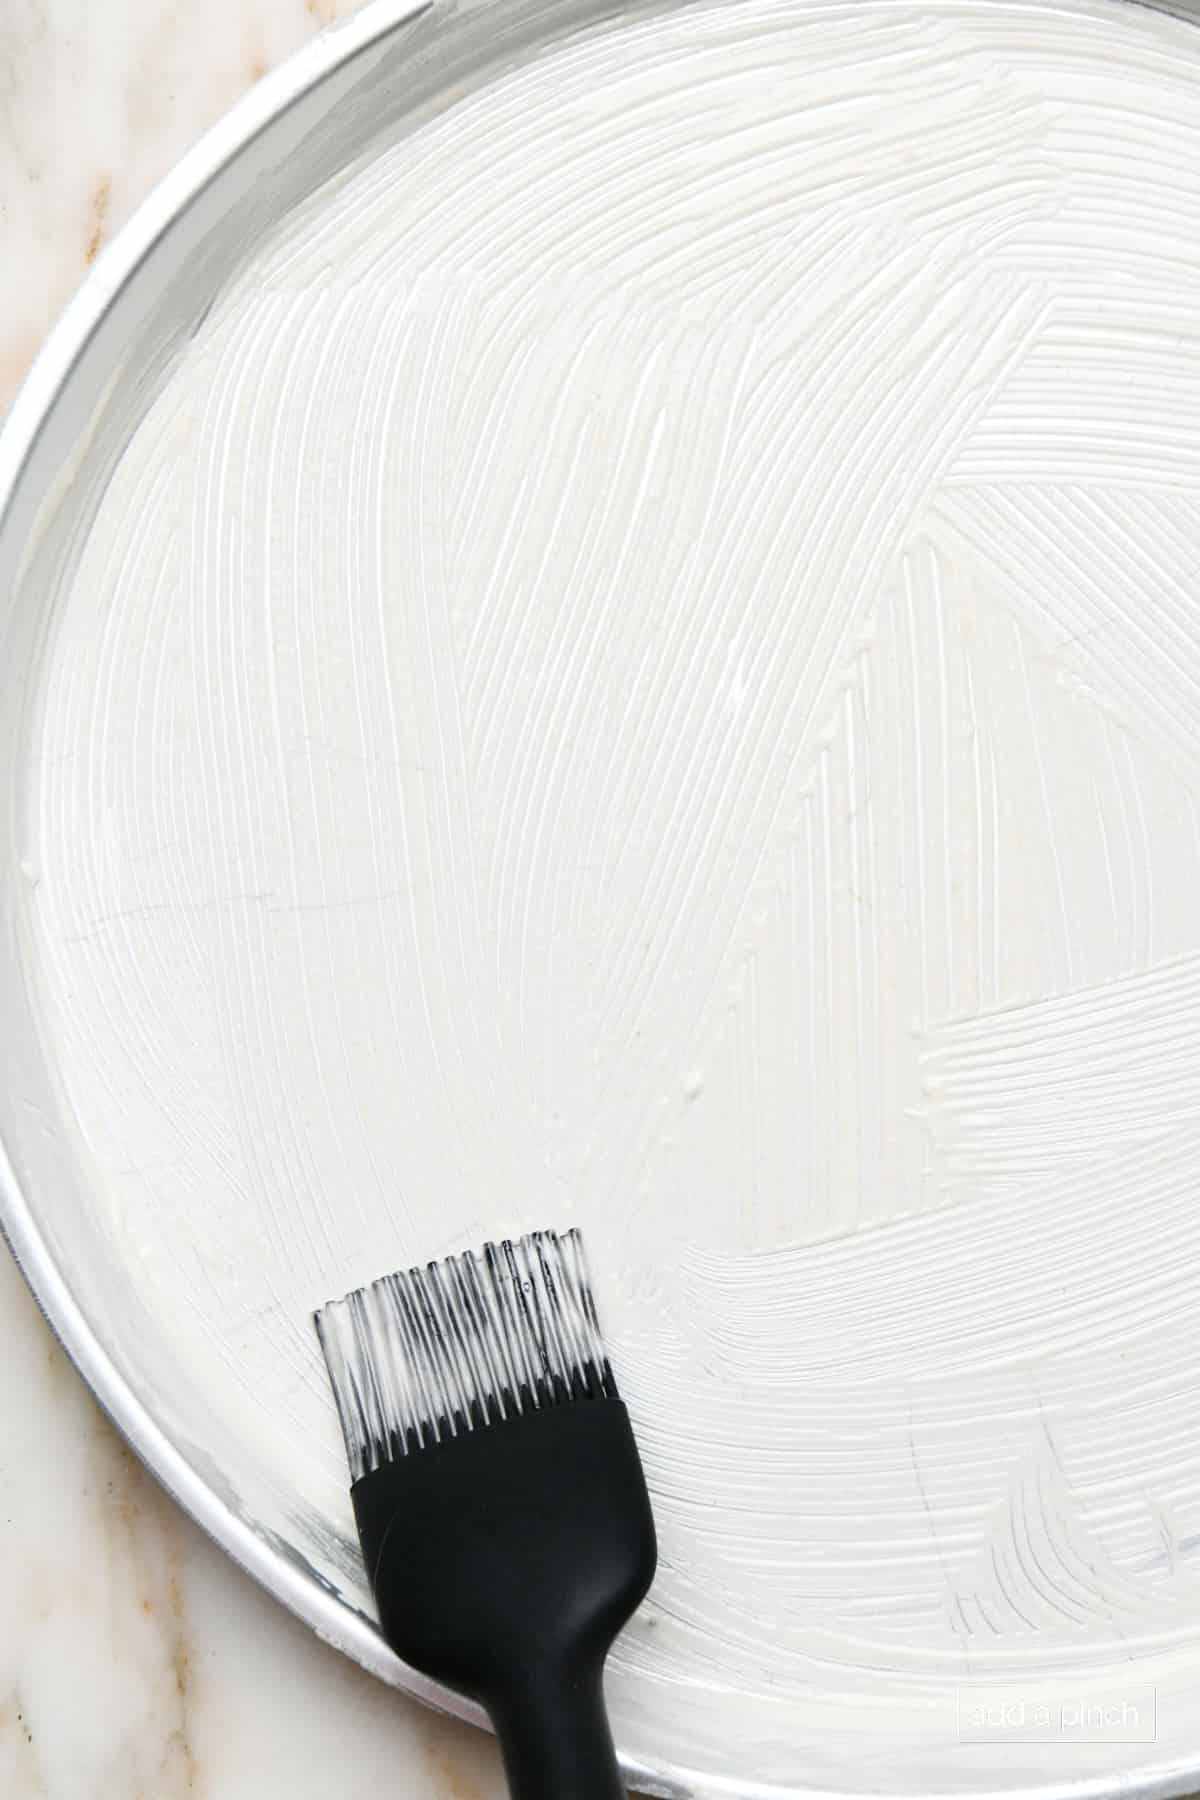
- Even Coverage is Key: Using a pastry brush or a paper towel, apply a thin, even layer of cake goop to every surface of your pan that will come into contact with the batter. Don't forget the nooks and crannies of Bundt pans or the edges of loaf pans. Aim for a coating that's visible but not excessively thick or gloopy.
- No Need to Flour (Usually): With cake goop, you typically don't need to dust with flour after applying, as the flour is already incorporated into the mixture. This simplifies the process and reduces mess.
- Warm Pans for Better Spreading: If your goop is particularly thick or you're using it straight from the fridge, a slightly warm pan can help it spread more easily and evenly.
- For Intricate Molds: For highly detailed Bundt pans or specialty molds, ensure you get into every crevice. A small, clean brush can be invaluable here. Once coated, give the pan a light tap on the counter to help the goop settle into all the details.
- Don't Overfill: Even with the best pan release, overfilling your baking pans can lead to overflow and sticking issues. Adhere to recipe guidelines for batter volume.
- Cooling Time Matters: Allow your cakes to cool in the pan for the recommended time (usually 10-15 minutes) before attempting to invert. This allows the cake to set and firm up, reducing the risk of tearing.
Embracing this simple homemade cake goop recipe pan release means embracing a new era of effortless baking. No more anxieties about sticky situations; just beautifully released baked goods, every single time.
Conclusion
The days of struggling with stuck cakes and relying on expensive, chemical-laden baking sprays are officially over. By investing a few minutes in preparing this incredible homemade cake goop recipe pan release, you'll unlock a level of baking confidence and consistency you never thought possible. This simple, three-ingredient mixture is not just a replacement; it's a superior alternative that guarantees flawless release, saves you money, and gives you complete control over the ingredients in your kitchen. From basic layer cakes to intricate Bundt creations and everyday muffins, homemade cake goop is your new secret weapon for perfectly released baked goods. Try it once, and you'll wonder how you ever baked without it. Happy baking!
