Baking a beautiful cake only to have it stubbornly stick to the pan is a frustration every baker knows all too well. The joy of creating a culinary masterpiece can quickly turn to despair when half the cake remains behind, mangled and unpresentable. While commercial baking sprays offer convenience, they often come with a hefty price tag, questionable ingredients, and sometimes, an unpredictable performance. What if there was a simple, cost-effective, and foolproof alternative that guarantees a perfect release every time? Enter the homemade cake goop recipe pan release – your new secret weapon in the kitchen.
This miraculous three-ingredient mixture, often lovingly called "cake goop" or "magic pan release," has been a well-guarded secret among professional bakers and seasoned home cooks for years. It's incredibly easy to make, shelf-stable, and outperforms store-bought sprays, ensuring your cakes, muffins, and bundt creations slide out flawlessly. Forget the days of meticulously greasing and flouring or wrestling with parchment paper; once you discover the power of this homemade pan release, you'll wonder how you ever baked without it. It's time to unlock perfect cakes with homemade cake goop.
What is Homemade Cake Goop and Why It's Your Baking MVP
At its core, homemade cake goop is a brilliant blend of three common kitchen staples: flour, neutral oil, and shortening. This synergy creates an impenetrable, non-stick barrier: the fat (oil and shortening) coats the pan, while the flour forms a physical layer preventing the cake from adhering. This combination is far more effective than traditional greasing or flouring alone, providing a robust and reliable release system.
The benefits of adopting this simple solution are clear:
- Flawless Release: Say goodbye to broken cakes and sticky situations. Cake goop guarantees a smooth release, preserving the integrity and beauty of your baked goods.
- Cost-Effective: Significantly cheaper than continually buying aerosol baking sprays, as it's made from inexpensive, everyday ingredients.
- Healthier Option: You control the ingredients, avoiding the propellants, anti-foaming agents, and other additives often found in commercial sprays.
- Versatile: Perfect for all types of bakeware – standard cake pans, intricate bundt pans, muffin tins, loaf pans, and more.
- Long Shelf Life: Prepare a batch and store it! It remains fresh for months, ready whenever the baking bug bites.
- Clean & Quick: Applying cake goop is cleaner and quicker than traditional greasing and flouring methods, which can leave a powdery residue.
Many bakers, myself included, find that once they start using this homemade pan release, they simply won't go back. It's a genuine game-changer. In fact, you can stop buying baking spray and make this 3-ingredient cake goop for perfect release.
The Essential Homemade Cake Goop Recipe Pan Release
The beauty of this homemade cake goop recipe pan release lies in its utter simplicity. With just three ingredients and a few minutes, you'll have a batch ready for all your baking adventures. The standard ratio is often equal parts by volume, making it incredibly easy to scale.
Ingredients You'll Need:
- Flour: 1 part (e.g., 1/2 cup) – All-purpose flour is standard. It creates the primary non-stick barrier.
- Neutral Oil: 1 part (e.g., 1/2 cup) – Vegetable oil, canola oil, or sunflower oil work best due to their mild flavor profiles, ensuring they don't impact the taste of your baked goods.
- Shortening: 1 part (e.g., 1/2 cup) – Vegetable shortening (like Crisco) provides structure and additional fat, helping the goop cling to the pan effectively and creating a robust coating.
Step-by-Step Instructions:
- Combine Ingredients: In a medium-sized mixing bowl, add the flour, neutral oil, and shortening.
- Mix Until Smooth: Using a hand mixer on low speed, or a sturdy whisk, mix all ingredients until they are thoroughly combined and the mixture is smooth and homogenous. You want to eliminate any lumps of flour or shortening. Ensure you scrape down the sides of the bowl to incorporate everything.
- Store: Transfer your freshly made cake goop into an airtight container. A glass jar with a tight-fitting lid or a plastic food storage container works perfectly.
Pro Tip: While a hand mixer makes quick work of it, a sturdy whisk and a little elbow grease will also get the job done. The goal is a consistent, spreadable paste, similar to a thick batter.
Customizing Your Cake Goop: Gluten-Free, Chocolate & Buttery Variations
One of the most appealing aspects of this homemade cake goop recipe pan release is its adaptability. You can easily tweak the basic formula to suit specific dietary needs or enhance certain baking projects, ensuring every baker finds their perfect pan release solution.
Gluten-Free Cake Goop for Sensitive Bakers
For gluten-free baking, simply substitute your favorite gluten-free all-purpose flour blend for regular all-purpose flour. It's crucial to ensure that all other ingredients (oil and shortening) are also certified gluten-free to prevent any cross-contamination. This simple swap means that gluten-free cakes, muffins, and breads can also benefit from the magic of homemade cake goop, releasing cleanly without compromise. Gluten-free flours often have different absorption properties than wheat flour, so a dedicated GF goop ensures effectiveness tailored to their unique texture.
Chocolate Cake Goop for Dark Delights
Baking dark chocolate cakes? While the standard goop works, a chocolate variation can significantly elevate the presentation, especially for unfrosted cakes. The white residue of plain flour can sometimes be visible on a dark cake, detracting from its rich appearance. To create chocolate cake goop, simply mix in 1-2 tablespoons of unsweetened cocoa powder to your standard recipe while combining the ingredients. For every cup of flour, aim for about 1/4 cup of cocoa powder, adjusting to achieve a deep brown color. This way, any excess goop on the cake's surface blends seamlessly with the chocolate hue, making it ideal for elegant chocolate bundt cakes, rich brownies, or any chocolate creation where presentation is key.
Buttery Cake Goop for Enhanced Flavor
If you're looking to impart a subtle, rich buttery flavor to your baked goods, this variation is a fantastic choice. Instead of vegetable shortening, substitute an equal amount of softened unsalted butter. The process remains the same: mix equal parts flour, neutral oil, and softened butter until smooth. Crucially, due to the dairy content, this variation must be stored in the refrigerator to prevent spoilage and maintain its consistency. It will last for several weeks to a month. It's an excellent option for vanilla cakes, pound cakes, or any recipe where a hint of butter would be a welcome addition.
Application & Storage: Getting the Most Out of Your Homemade Pan Release
Having a batch of homemade cake goop recipe pan release on hand is only half the battle; knowing how to properly apply it and store it ensures its maximum effectiveness and longevity. Master these techniques for perfect bakes every time.
How to Apply Cake Goop for a Perfect Release
Applying cake goop is incredibly straightforward, but a few tips can guarantee optimal results:
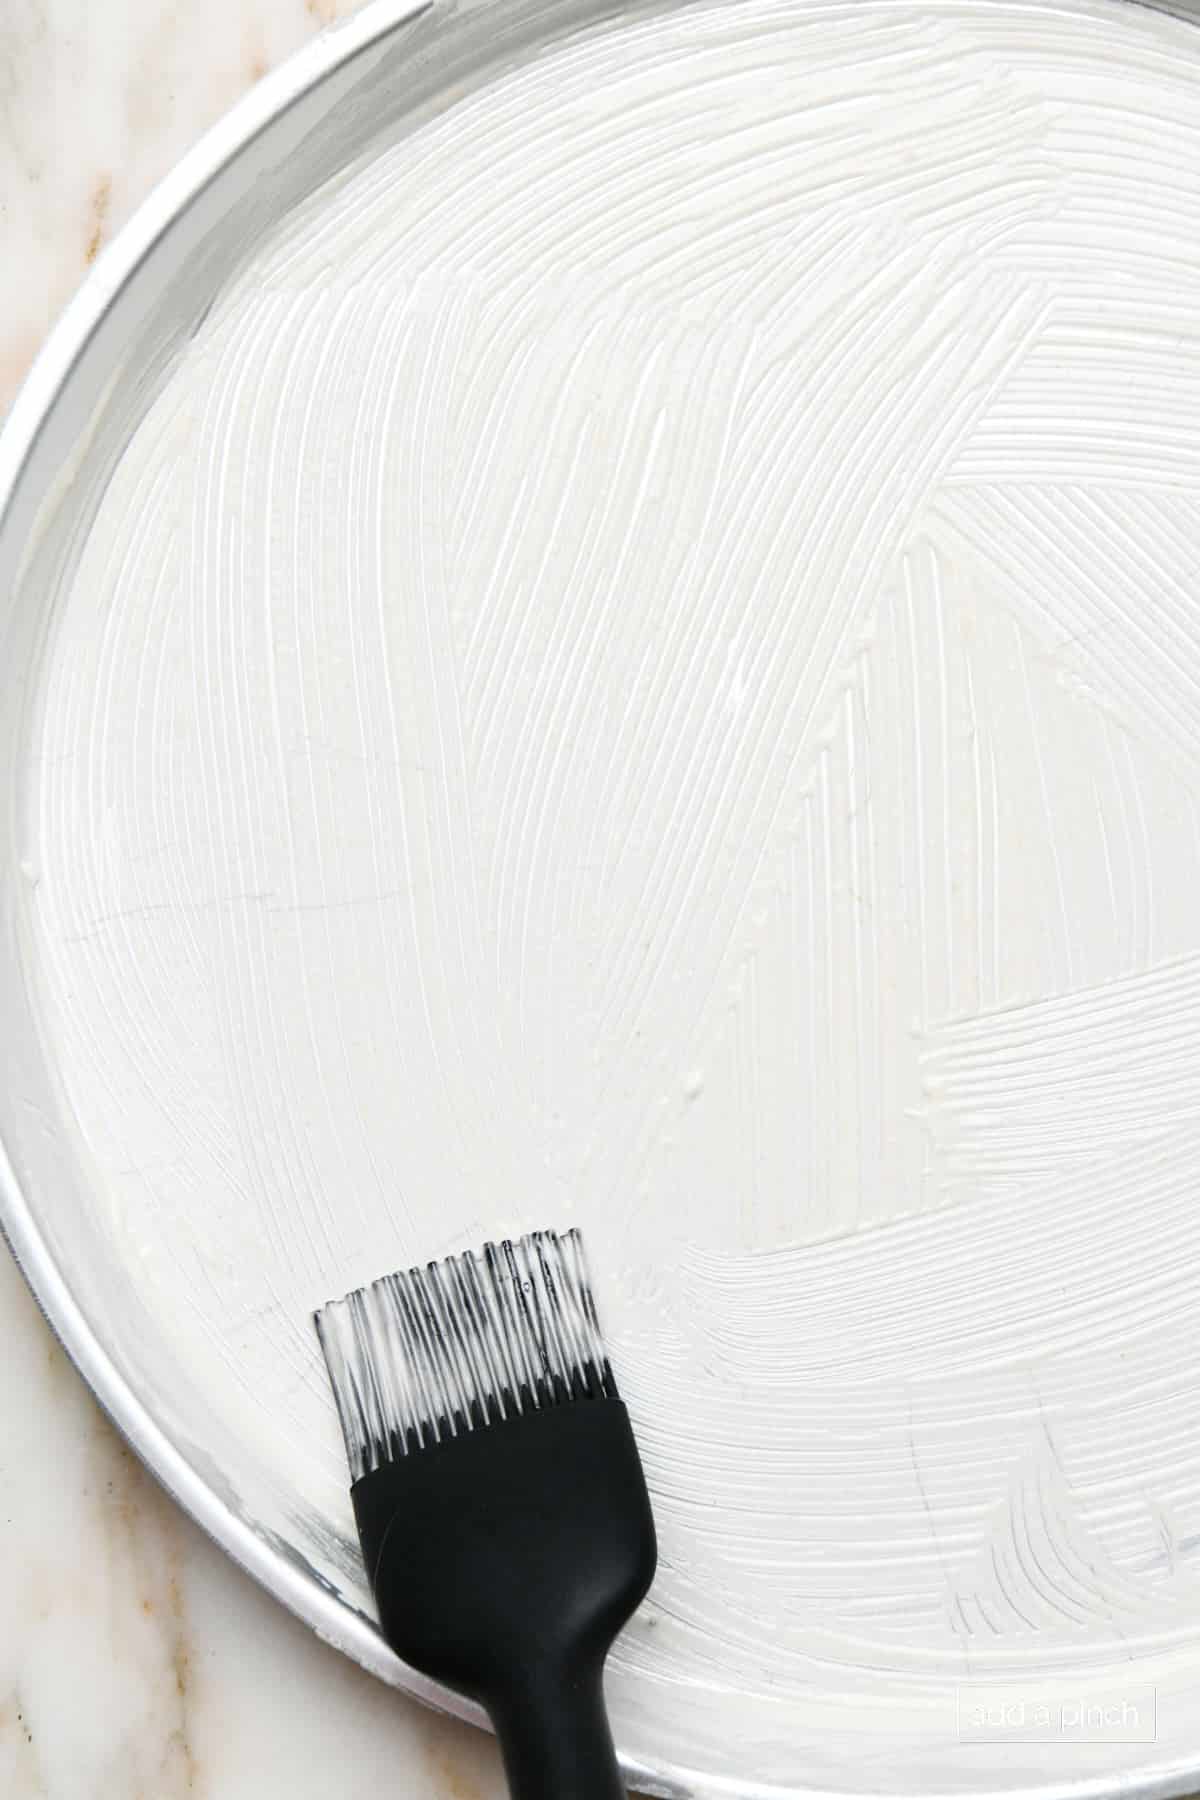
- Brush Generously: Use a pastry brush to apply a generous, even layer of cake goop to all interior surfaces of your baking pan. Ensure every nook and cranny is coated, especially with intricate bundt pans. Don't forget the center tube!
- Corners and Edges: Pay extra attention to corners and edges where cakes are most prone to sticking. The goal is a uniform, opaque layer of goop.
- No Need for Parchment (Usually): For most standard cake pans, loaf pans, and muffin tins, the goop eliminates the need for parchment paper. However, for highly delicate cakes or very complex molds, some bakers still opt for a parchment circle at the bottom for absolute peace of mind.
- Muffin Tins: For muffins or cupcakes without liners, brush each well thoroughly, ensuring complete coverage.
The beauty of cake goop is that it clings perfectly to the pan, creating an excellent barrier without slumping or pooling, unlike some thinner sprays.
Storage & Shelf Life: Keeping Your Goop Fresh
Proper storage is key to making your homemade cake goop last:
- Pantry Storage (Standard Goop): Your basic flour, oil, and shortening cake goop can be stored in an airtight container in a cool, dark pantry for up to three months.
- Refrigerator Storage (Standard Goop): For extended freshness, store the standard goop in the refrigerator for up to six months. It might firm up slightly when cold, so allow it to come to room temperature for easier spreading, or just warm it slightly in your hands or microwave for a few seconds.
- Refrigerator Storage (Buttery Goop): Any variation made with butter must be stored in the refrigerator due to the dairy content. It will last for several weeks to a month.
- Freezing: Yes, you can freeze homemade cake goop! If you've made a large batch and don't anticipate using it all within the recommended refrigeration period, transfer it to a freezer-safe, airtight container. It can last for up to a year in the freezer. Thaw in the refrigerator or at room temperature before use.
Always use an airtight container to prevent the goop from drying out or absorbing odors from your pantry or fridge.
Conclusion: Embrace the Homemade Cake Goop Revolution
Ditching commercial baking sprays for a homemade alternative is more than just a frugal choice; it's a step towards more mindful, reliable, and ultimately, more satisfying baking. The homemade cake goop recipe pan release stands as a testament to the power of simple ingredients combined for extraordinary results. Whether you're a seasoned baker tackling intricate bundt designs or a novice experimenting with your first sponge cake, this versatile pan release ensures that your creations emerge from the oven looking as perfect as they taste. Embrace the goop, experiment with the gluten-free, chocolate, and buttery variations, and prepare to be amazed by the consistent, flawless release it provides. Happy baking!
